Some Kind of Magic
Hello Sugar World!
This is Sugarworks' assistant, Jen, writing today. Most of you know that Meghan is the caker behind this operation; I came on board to help out with marketing and media. Not only am I neither artist nor baker, but before I took this job (full confession here) I didn't even know what fondant was!
But I'm educated now! And after 6 months of staring in awe at other people's work, I thought "I gotta try this out myself."
Now, I know enough of what goes into this craft to know not to be too ambitious on a first attempt. (4-tiered, double barreled wedding cake with sculpted flowers and the cast of Rent in fondant figurines? Umm... no.) How about just a nose?
And let's face it- all I really wanted to do was use the Sugar Shapers. (They just look so nice!)
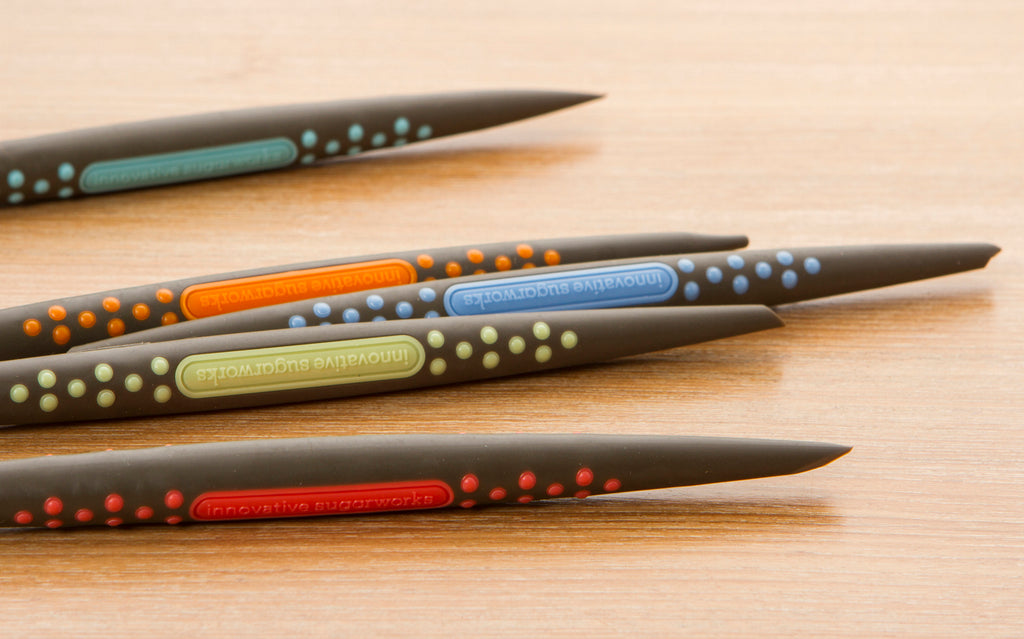
So here it is- my very first attempt sculpting anything. Ever. (And I got to use the world's coolest tools! Job perk!)
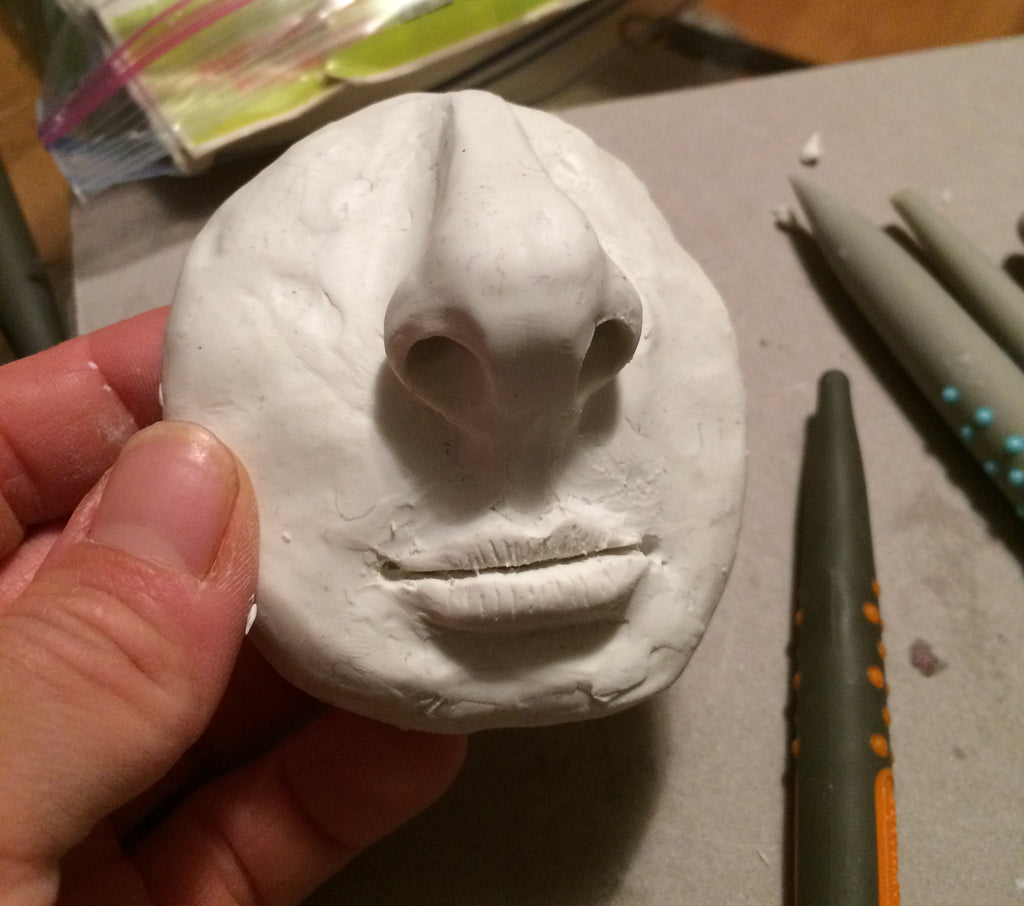
Not too shabby, eh? (remember- first time) The nose worked out better than I expected, so I continued on to lips. Now, I'm at an advantage because I was on set for Kaysie's last Innovative Sugarworks video shoot, so I got to watch a real pro do this before I tried. But I'll do my best to walk you through what I did. (And you'll be able to see Kaysie do it for real very soon! Subscribe to our YouTube Channel to get notified when that comes out!)
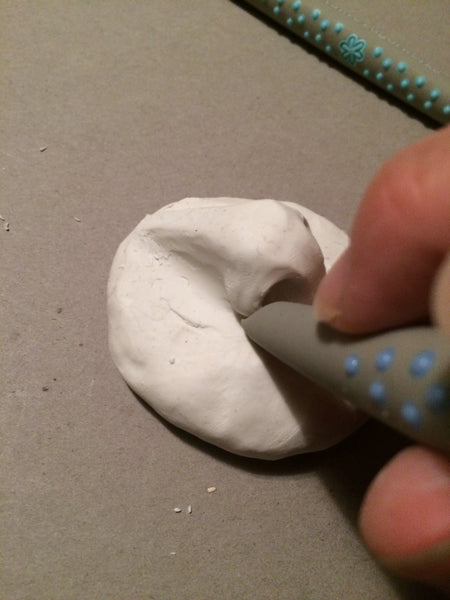
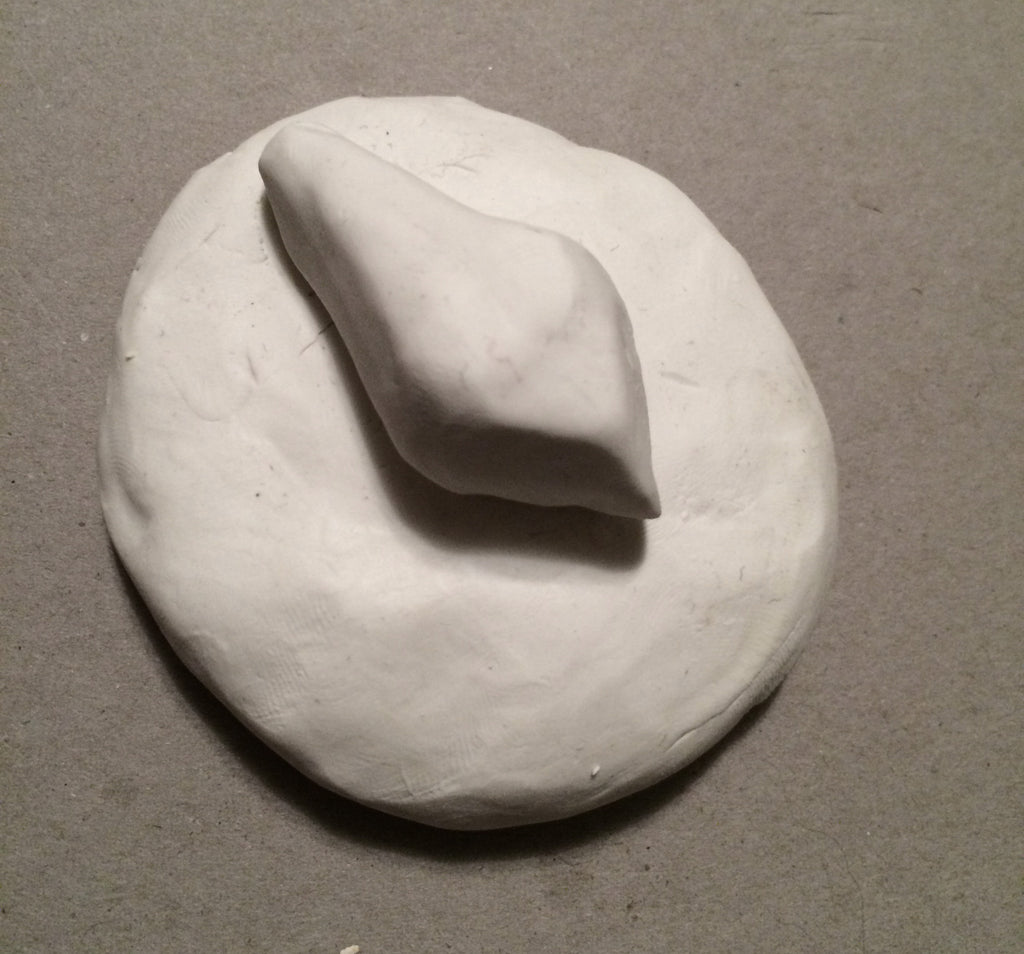
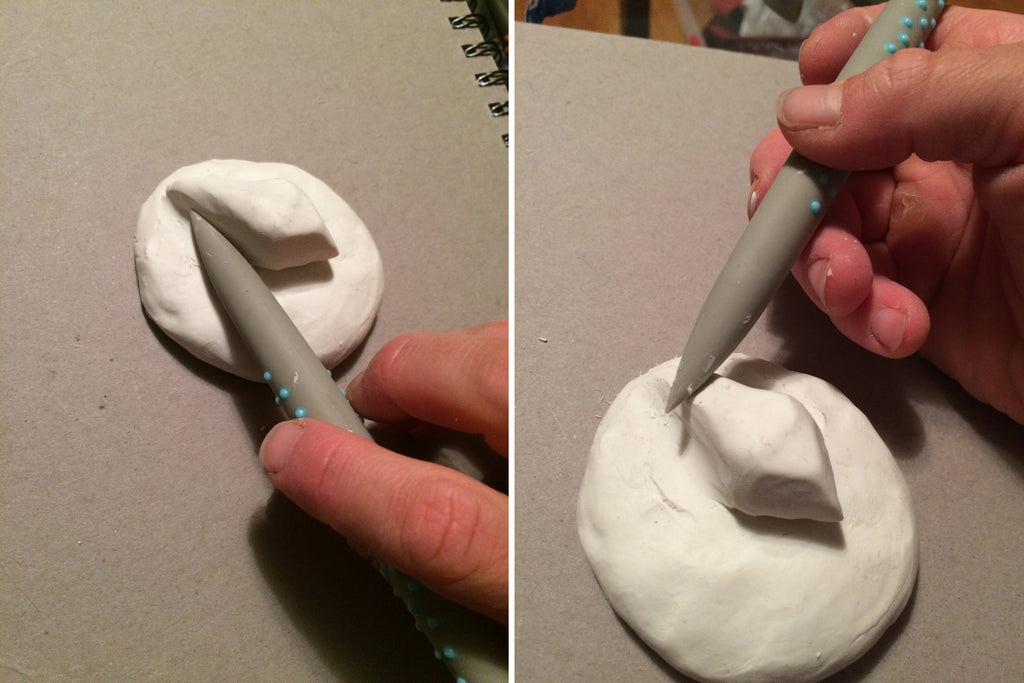
So I started out with a dome shaped lump and a diamond/kite shaped blob.
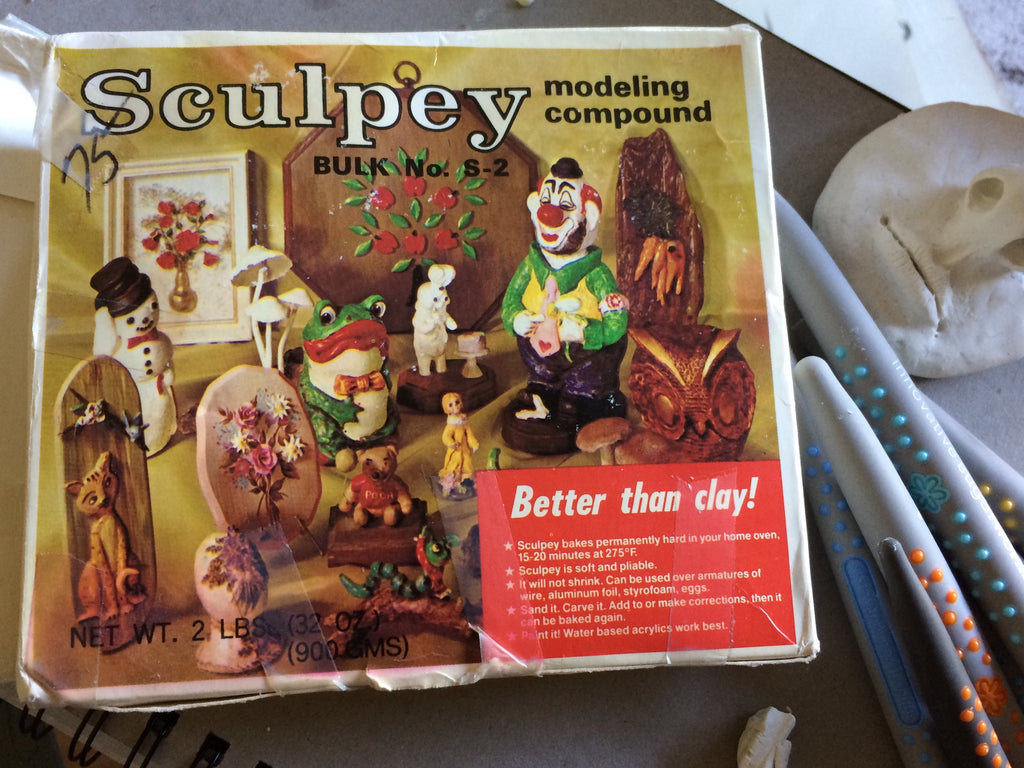
If you're really a caker, you'll probably want to use a 50/50 mix of fondant and modeling chocolate, but I just used some Sculpey from the craft store. I honestly thought this would be an epic failure and I wanted to the ability to mash it all up, make it into a pinch-pot, and pretend it never happened. So now there's half a face sitting on my coffee table because I'm too sentimental at having made A Thing to mush it back into the clay box. It's a conversation piece, right?
I used my soft Pointed Chisel (the light blue one) to smooth down the edges of the kite/nose blob onto the face/dome lump. I also used the side of that same shaper to roll-mold the bridge of the nose.
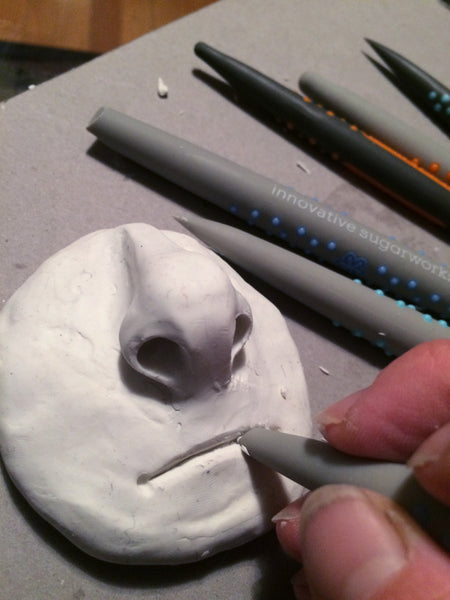
Next I used the larger end of my firm Bone Chisel Mini Shaper to make the nostrils. I started just by marking two divets in the nose where the nostrils would be. Then I pushed up and out with the shaper to push out the two nostrils into a nosey shape.
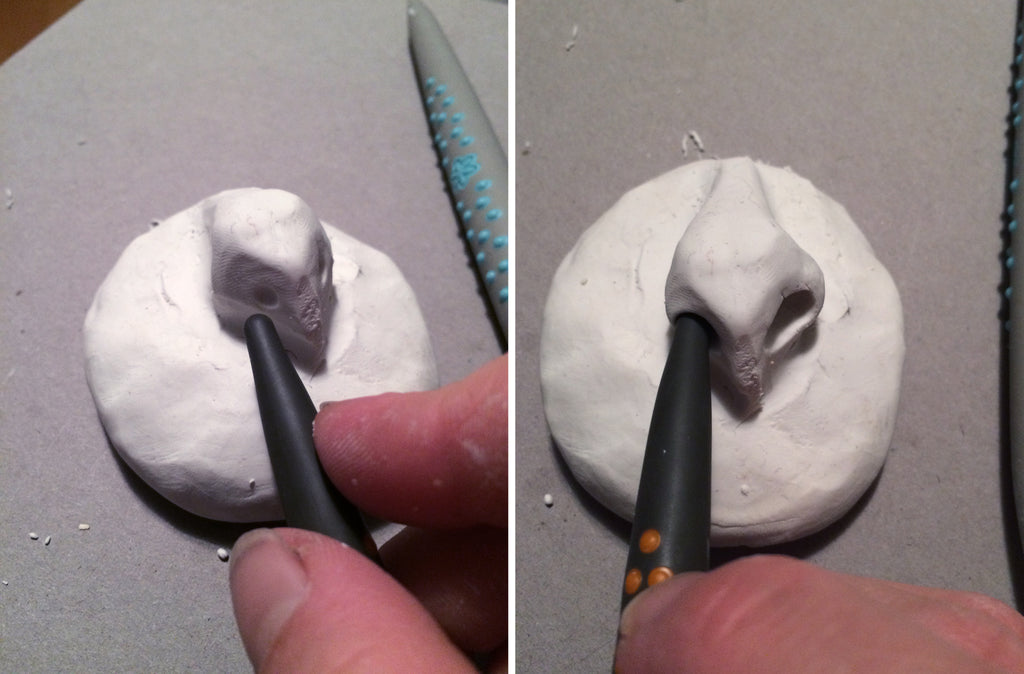
Lastly, I used my soft Lip Chisel to add some definition to the edges of the nostrils and I used my fingers to smooth out the septum a little.
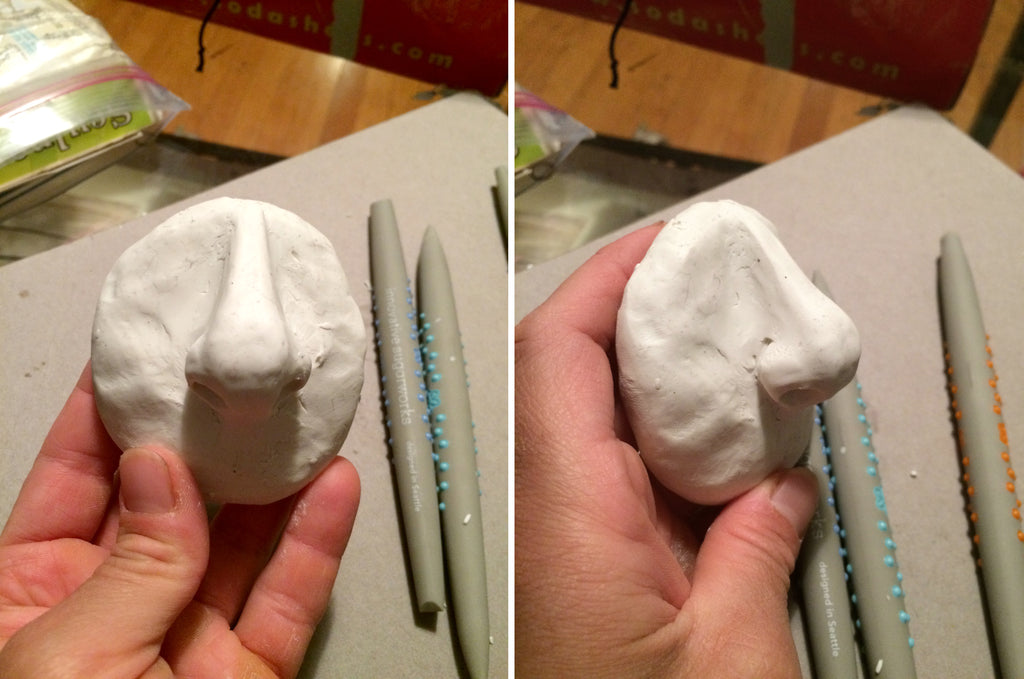
Ta-Dah! A nose! A little on the bulbous side, but hey- don't judge. We're all beautiful.
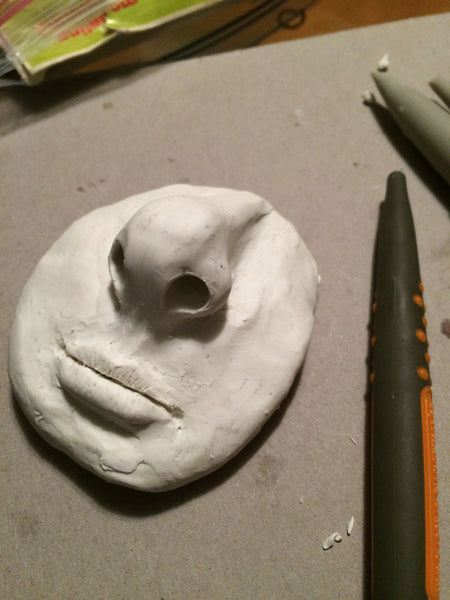
That went so well, I thought I'd push my luck and go for a mouth. I started by using my firm Bone Chisel Mini Shaper to make two indentations for the edges of the mouth. Then I made a line connecting them with my firm Pointed Chisel Sugar Shaper.
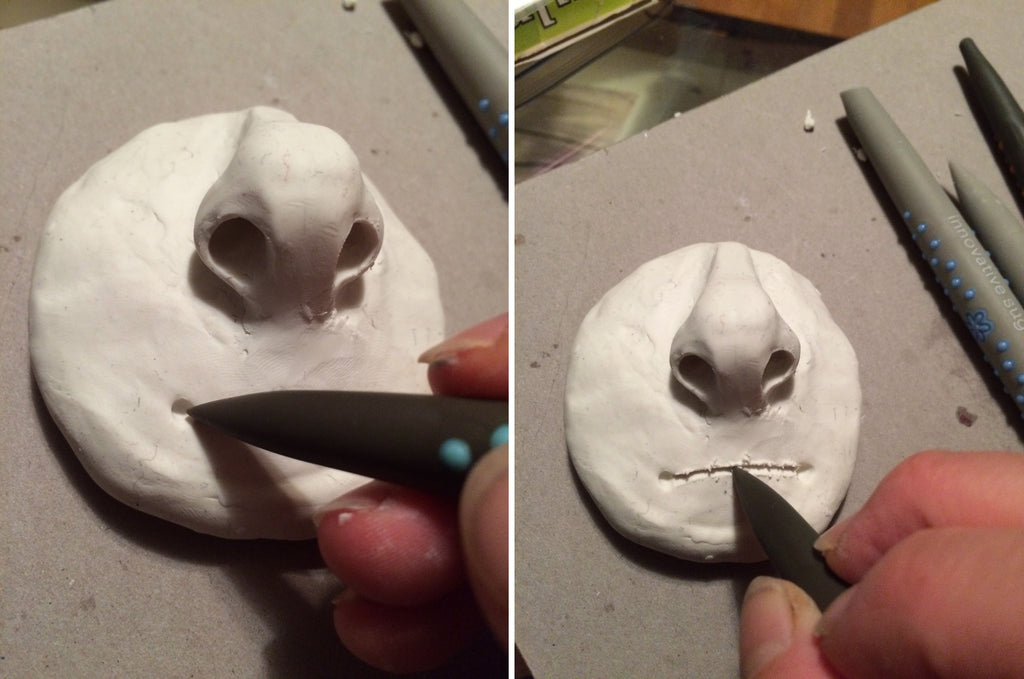
Next I used my soft Lip Chisel Mini Shaper to give some depth to the parting of the lips.
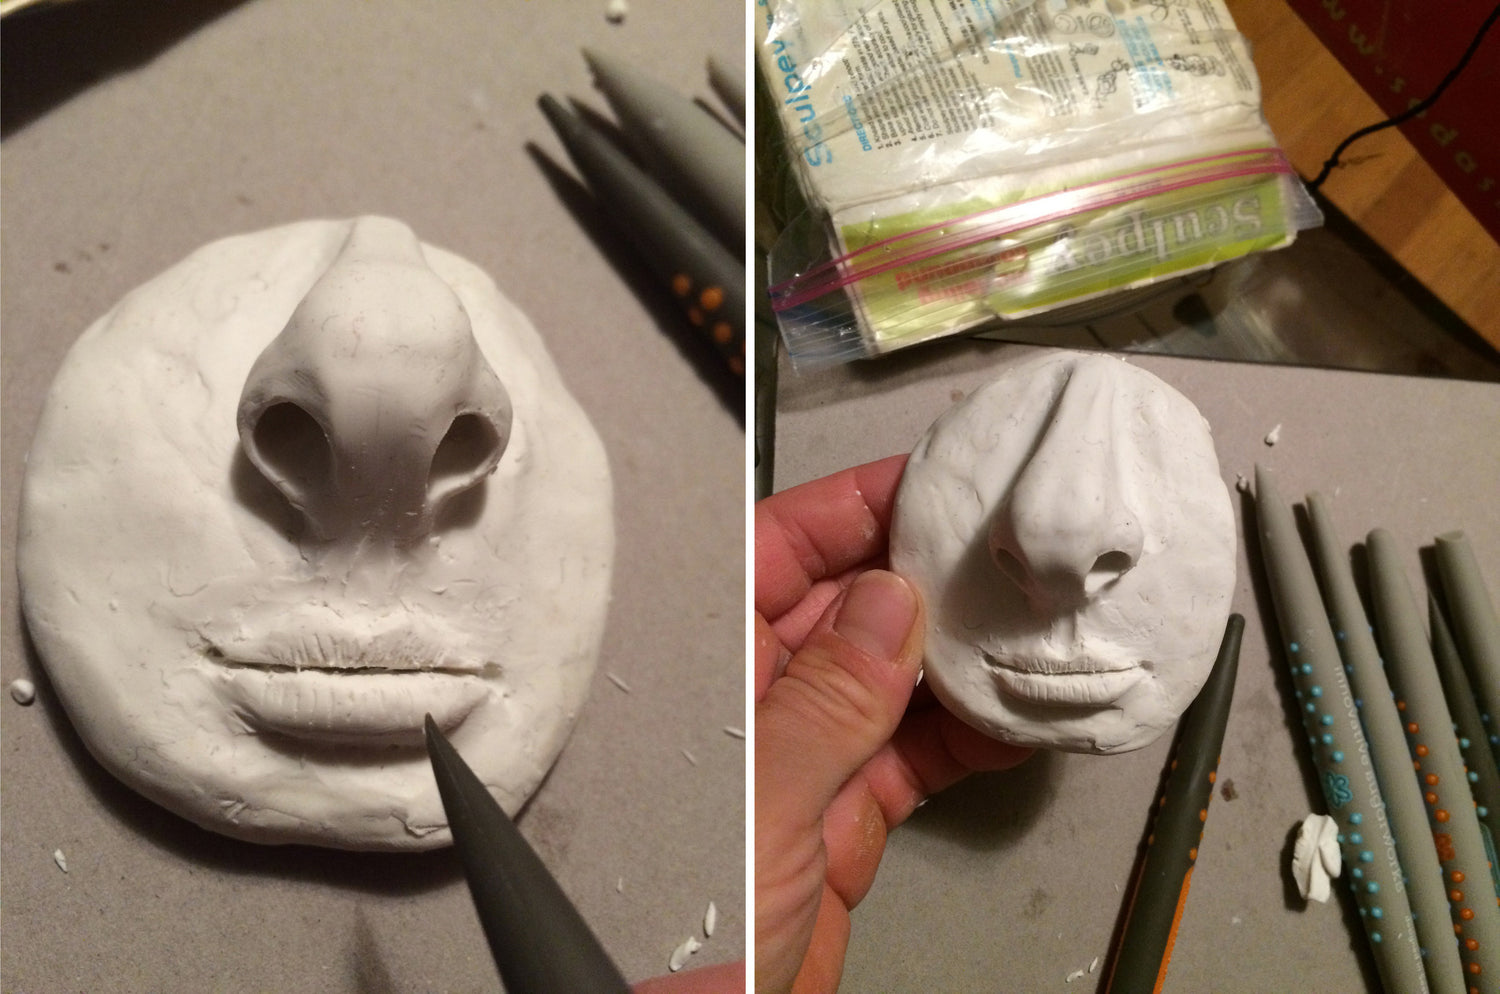
Then I rolled out two little slug-shaped bits of clay for the lips. I used the side of the Shaper like a tiny rolling pin to smooth the edges of the lips onto the face and my soft Lip Chisel again to give them some shape. I also used my soft Bone Chisel Mini Shaper to shape up that little indented area in the middle of the upper lip. And for a final detail I used my firm Pointed Chisel Mini Shaper to add some lip-crease texture to the lips.

And there it was! My very first sculpted thing with Sugar Shapers! Now, I can't tell you that there's some kind of fairy-magic lurking in these tools, but I can say that I am not a sculptor, that I have never made a 3-dimensional art thing, and I had never used these tools before this attempt. And I managed a passable success on my first try.
And it was also super fun!!
Products
View all

